Do-It-Yourself Hacks
How to Upholster a Chair
Upholstering, or reupholstering a chair seems at first glance, horrendously daunting, however, the results and the sense of achievement can be so worth it. If done correctly, it can also be an incredibly budget-friendly way of getting a new look!
How to upholster your chair
This is inevitably quite a long and seemingly complicated process, so take a deep breath and imagine how good you’ll feel when you have a fab new chair for very few dollars!
Before you start, there are a couple of things to consider:
Which is the best fabric to choose?
Now, obviously the color and pattern is up to you and the look you want to achieve, but it’s important to know what type of fabric is best for your DIY project. It needs to be easy to work with and sew – that rules out leather, and highly durable for the finished chair. Generally, a cotton, or cotton mix fabric is both easy to tailor, and suitably hard-wearing. However, easily workable synthetic fabrics can produce amazing, professional looking results for DIY upholstery.
Which stuffing will provide the most comfort?
How comfortable and supportive your finished upholstery will be depends on the type of stuffing you choose. You’ll need several different layers to provide the best feel. Foam is the most commonly used stuffing, and there are several types and thicknesses available.
This is covered by batting, which gives a smooth finish to the foam, and prevents the fabric covering slipping around. The batting usually consists of a wool based fiber mix that is layered over the foam and attached on the underside. A correctly stuffed chair cushion lies at the very heart of the level of comfort offered, so it’s crucial to put some thought into this area.
How to upholster a chair
- Firstly, take plenty of photos of your chair, including the underside, as it is now. This helps when it comes to the recovering stage.
- Carefully remove any studs or rivets that decorate your chair.
- Remove the old fabric, being careful not to tear it, and marking each piece’s location on the chair as you go.
- Take off the old stuffing.
- Check the webbing and tighten the straps, or replace, if necessary. This is what actually gives the chair its support so it’s important that they are stretched tight and firmly stapled in place.
- Lay the old fabric sections out on your new material and pin firmly in place. Make sure you leave a couple of inches of fabric around each piece for hemming and attaching.
- Going back to the chair frame, staple the new padding fiber in place, being very generous. Make sure it’s neatly finished, with no rough edges that would be felt through the fabric.
- Using your photos and marked up fabric, start reassembling the pieces on the frame, pinning them in the correct places.
- When you’re completely happy with the fit and placement of the fabric shapes, start stapling.
- Pulling the fabric tight and smooth, use as many staples as required to hold it in place securely. But make sure you place them where they’ll be covered up, or hidden from view.
- Staple the back panel on last.
- Turn the whole thing over, and staple on the base material. This is generally black, but must be breathable to prevent any damp developing inside your sofa.
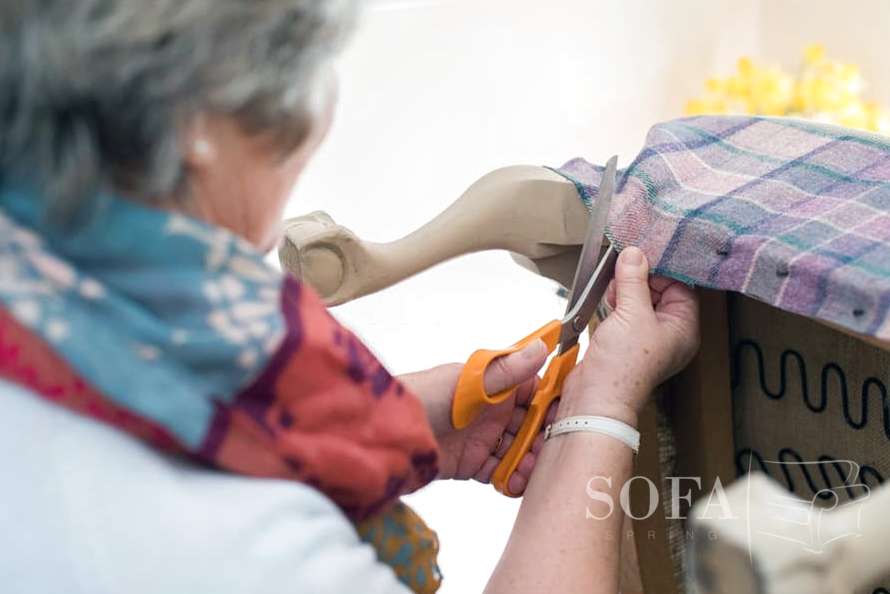
- Once that’s completed, carefully trim off any excess fabric.
- Take your piping cord, and measure it, ensuring that there’s enough to go around the new cushions, top of the seat skirting, the edges of the arms and so on – refer back to your photos again to see where the original chair was piped and that’s what you’re aiming for.
- Cover your piping cord with fabric to match the chair – or go for a contrasting color for a stylish touch. You need to cut a strip of fabric that will wrap around the cord, covering it completely, and stitch it in place.
- Using an upholstery needle and thread, and using tiny stitches, start attaching the piping where you require it to go. Sew from the underside of the piping, making sure not to twist it as you go.
- Once you’ve finished the piping, it’s time to stand back and admire your new found skills as an upholsterer.
Whilst it may take a little time to finish, upholstering your own chair is an amazing achievement, and one you should be proud of.
Here are some more great upholstery hacks:
